INTRO
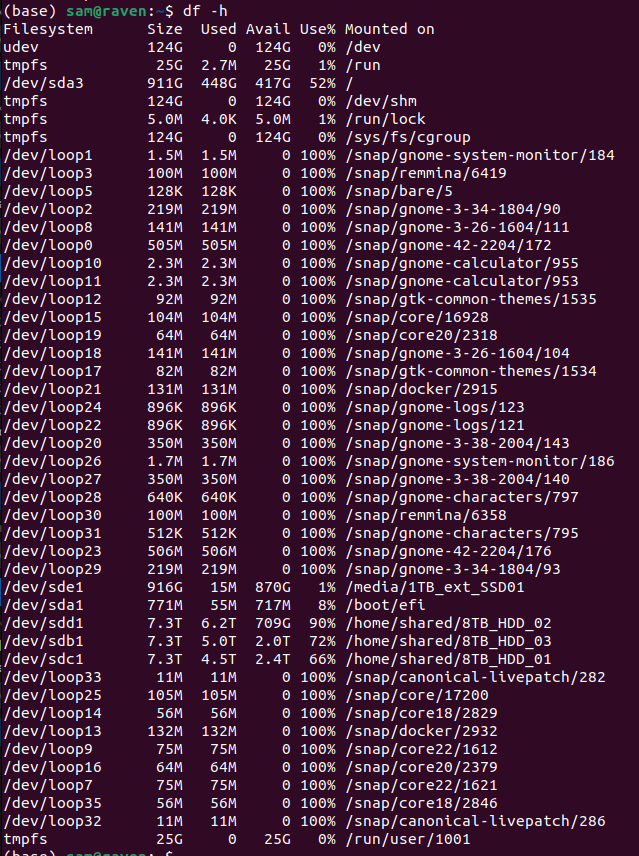
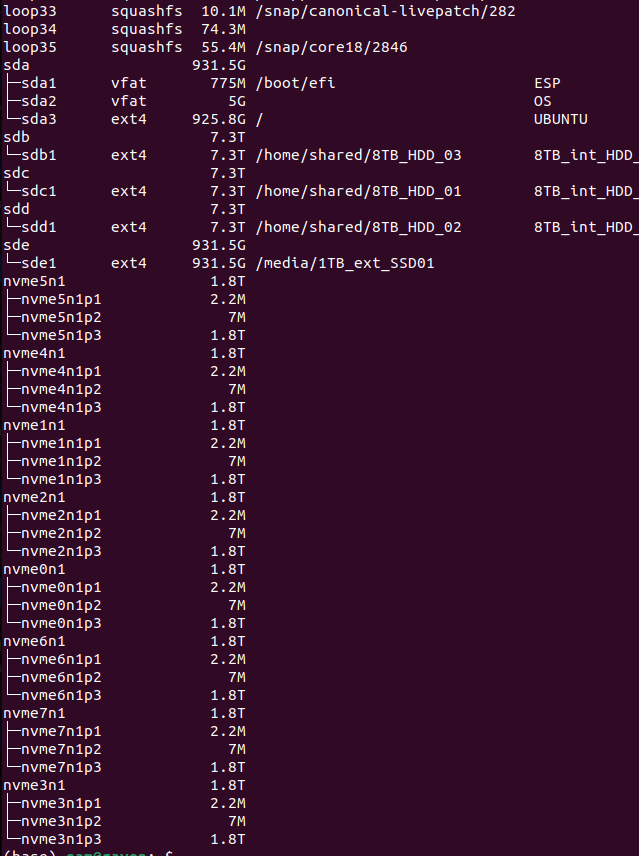
We recently purchased a 16TB OWC ThunderBlade X8 as additional storage for Raven (Ubuntu 18.04LTS), primarily to be used for Shelly and Emma’s project. Although I thought this would just be “plug and play,” when I plugged it in, Raven recognized each individual SSD as its own drive. Firstly, I didn’t expect there to be mutliple drives (guess I should’ve read the product description more closely) and thought it was just a single, massive SSD drive. Secondly, Raven didn’t automount the drives.
So, I had to deal with both of those issues. Luckily, it turns out it wasn’t particularly difficult or timeconsuming!
PROCEDURE
Combine drives into RAID0
RAID0 essentially treats all the SSDs of the Thunderblad X8 as a single volume (i.e. drive). This maximizes space, but sacrificies any data redundancy. This is fine, as we purchased this solely to function as additional storage and aren’t concerned about data redundancy (data on Raven should be sync’d to Gannet with regularity, as Gannet does have data redundancy in a RAID6 setup).
To do this, we use the mdadm command (Wikipedia).
sudo mdadm \
--create \
--verbose \
/dev/md0 \
--level=0 \
--raid-devices=8 \
/dev/nvme0n1 \
/dev/nvme1n1 \
/dev/nvme2n1 \
/dev/nvme3n1 \
/dev/nvme4n1 \
/dev/nvme5n1 \
/dev/nvme6n1 \
/dev/nvme7n1
This assigns the combined drive to /dev/md0 and then sets the RAID level to 0. This is followed by the drive count and the locations of the drives you want to include in the RAID configuration.
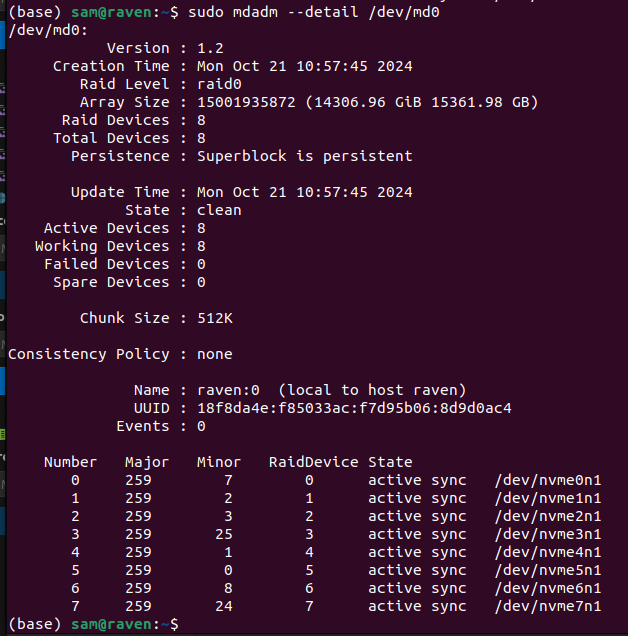
After running the mdadm --create command, we can confirm the details of the command’s process and confirm that things look the way we expected:
Next, we need to format the new RAID0 drives with a file system. In this case, we’ll go with ext4, which is a standard file system used in Linux/Ubuntu.
Format HDDs
sudo mkfs.ext4 /dev/md0After that’s done, we need to create a mount point and mount the drive.
sudo mkdir --parents /home/shared/16TB_HDD_01

sudo mount /dev/md0 /home/shared/16TB_HDD_01
Finally, we want this to automount any time the computer is rebooted, so we add it to /etc/fstab. Since that table contains the unique drive IDs, I think we don’t want them displayed on the open internet. So, if you want to see how that’s set up, you’ll need to look at /etc/fstab on your own.
RESULTS
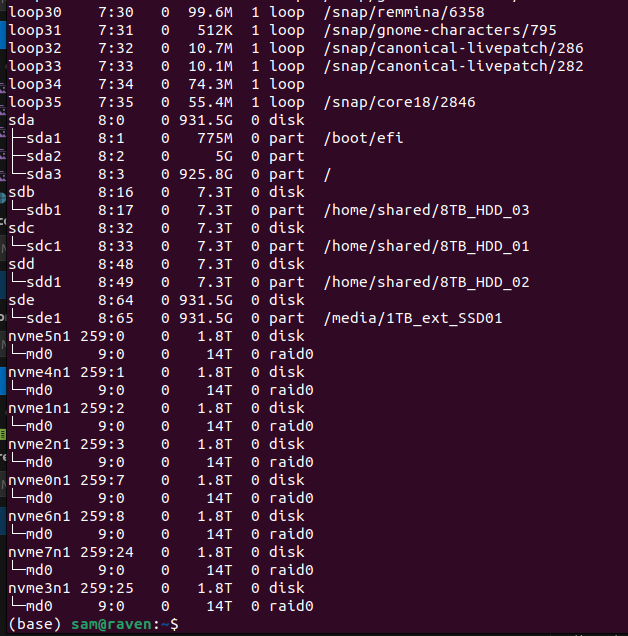
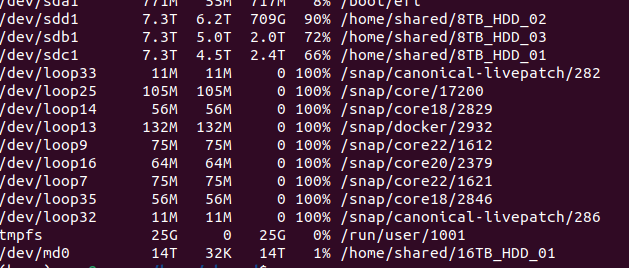
Now, check to see that the newly RAID’d and formatted drive shows up.
Alrighty, looks great! Easy, peasy!
